Introduction
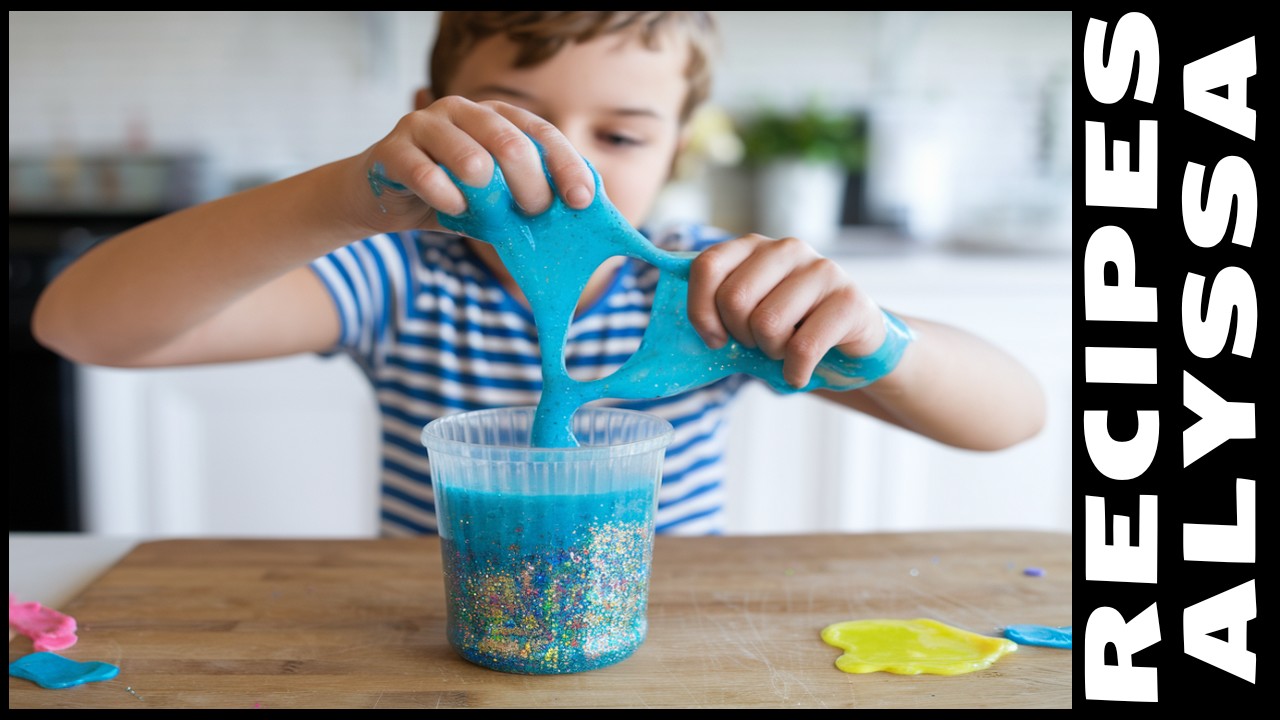
Slime-making has become a popular DIY project, especially for kids and parents looking for a fun, creative activity. This gooey, stretchy substance is not only entertaining to play with but also educational, offering insights into basic chemistry. Whether you’re new to slime-making or looking to refine your technique, this guide will walk you through everything you need to know to create the perfect slime.
What Is Slime?
Slime is a malleable, stretchy substance created by combining a few basic ingredients, typically glue and an activator. It’s popular among children and adults alike because it’s easy to make and provides hours of sensory play. The texture of slime can be adjusted to be sticky, fluffy, or even magnetic, depending on the ingredients and ratios used. This flexibility in texture and appearance makes slime a highly customizable craft.
For those interested in the science behind slime, it’s essentially a type of polymer that forms when the glue’s polyvinyl acetate molecules link together with the activator. For a sweet treat that can be enjoyed while making slime, you might want to try baking these Earl Grey Cookies.
Basic Ingredients for Slime
To get started with slime-making, you’ll need a few basic ingredients:
- Glue: The foundation of most slime recipes. You can use either white or clear glue.
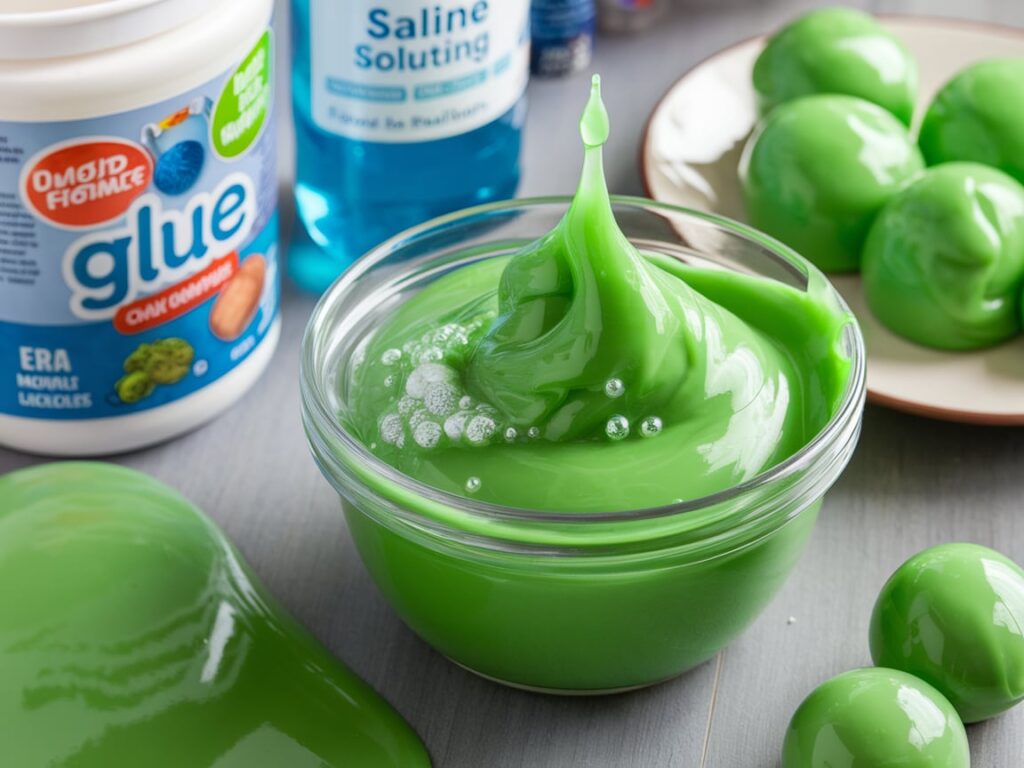
- Activator: This is what causes the glue to thicken into slime. Common activators include borax, contact lens solution, and baking soda.
- Water: Helps achieve the desired slime consistency.
- Coloring: Use food coloring or liquid watercolors to give your slime a vibrant hue.
- Optional Add-ins: Enhance your slime with glitter, beads, or other small items for texture and fun.
Understanding these basic ingredients will help you experiment with different slime recipes and create a variety of textures and colors. If you’re interested in exploring other creative projects, you might enjoy making a Pumpkin Banana Loaf, which pairs wonderfully with an afternoon of slime-making.
The Science Behind Slime
The magic of slime comes from the chemical reaction that occurs when you mix glue with an activator. The polyvinyl acetate in glue reacts with the activator, creating long polymer chains that trap water, giving slime its unique, stretchy consistency. The type of activator you use can change the texture of your slime, making it more sticky, fluffy, or even bouncy.
Slime-making is not only fun but also a great way to introduce children to basic scientific principles. For a hands-on guide to exploring the science behind slime, check out this How to Make Slime at Home.
Classic Slime Recipe
Let’s start with the basics. The classic slime recipe is easy to make and provides a great foundation for experimenting with other types of slime.
Ingredients:
- 1/2 cup of white or clear glue
- 1/2 cup of water
- 1/2 teaspoon of baking soda
- 1 tablespoon of contact lens solution (contains boric acid)
Instructions:
- Mix Glue and Water: In a bowl, combine the glue and water, stirring until well mixed.
- Add Baking Soda: Stir in the baking soda until fully dissolved.
- Add Contact Lens Solution: Gradually add the contact lens solution while stirring. The slime will start to form immediately.
- Knead the Slime: Use your hands to knead the slime until it becomes smooth and stretchy.
Tip: If your slime is too sticky, add a bit more contact lens solution. If it’s too stiff, add a few drops of water.
Fluffy Slime Recipe
For those who enjoy a softer, airier texture, fluffy slime is the way to go. This recipe includes shaving cream to create a light, fluffy consistency.
Ingredients:
- 1/2 cup of white glue
- 3 cups of shaving cream
- 1/2 teaspoon of baking soda
- 1 tablespoon of contact lens solution
- Food coloring (optional)
Instructions:
- Mix Glue and Shaving Cream: Combine the glue and shaving cream in a large bowl, stirring until fully mixed.
- Add Baking Soda: Stir in the baking soda to help the slime set.
- Add Coloring: If you want colored slime, add a few drops of food coloring.
- Add Contact Lens Solution: Slowly add the contact lens solution while stirring until the slime begins to pull away from the sides of the bowl.
- Knead Until Fluffy: Knead the slime with your hands until it becomes soft and fluffy.
For more detailed instructions on making this type of slime, visit How to Make Fluffy Slime.
Clear Slime Recipe
Clear slime is ideal if you want to add glitter or other decorative elements, as its transparency allows these additions to really stand out.
Ingredients:
- 1/2 cup of clear glue
- 1/2 cup of water
- 1/2 teaspoon of baking soda
- 1 tablespoon of contact lens solution
Instructions:
- Mix Glue and Water: Combine the clear glue and water in a bowl, mixing well.
- Add Baking Soda: Stir in the baking soda until fully dissolved.
- Add Contact Lens Solution: Slowly add the contact lens solution while stirring until the slime forms.
- Knead and Let It Clear: Knead the slime until it’s smooth. If bubbles are present, let the slime sit for a few days to clear up.
Butter Slime Recipe
Butter slime is named for its smooth, spreadable texture, which is achieved by adding soft clay to the basic slime recipe.
Ingredients:
- 1/2 cup of white glue
- 1/2 cup of water
- 1/2 teaspoon of baking soda
- 1 tablespoon of contact lens solution
- 1/2 cup of soft clay (air-dry clay works best)
Instructions:
- Prepare Basic Slime: Follow the instructions for the classic slime recipe to make a base slime.
- Add Clay: Gradually add the clay to the slime, kneading it in until fully incorporated.
- Knead Until Smooth: Continue kneading until the slime reaches a buttery, spreadable consistency.
Magnetic Slime Recipe
Magnetic slime is a fun, interactive project that responds to magnets, making it an exciting experiment for kids and adults alike.
Ingredients:
- 1/2 cup of white glue
- 1/2 cup of water
- 1/2 teaspoon of baking soda
- 1 tablespoon of contact lens solution
- 2 tablespoons of iron filings or magnetic powder
Instructions:
- Prepare Basic Slime: Follow the classic slime recipe to make a base slime.
- Add Magnetic Powder: Gradually mix the iron filings or magnetic powder into the slime.
- Knead and Test: Knead the slime thoroughly, then use a magnet to see how it reacts.
Glow-in-the-Dark Slime Recipe
For a spooky, glowing effect, glow-in-the-dark slime is perfect. This slime charges under light and glows in the dark, making it a hit for Halloween or nighttime play.
Ingredients:
- 1/2 cup of clear glue
- 1/2 cup of water
- 1/2 teaspoon of baking soda
- 1 tablespoon of contact lens solution
- 2 tablespoons of glow-in-the-dark paint or powder
Instructions:
- Mix Glue and Water: Combine the clear glue and water in a bowl.
- Add Baking Soda and Glow Powder: Stir in the baking soda and glow-in-the-dark paint or powder.
- Add Contact Lens Solution: Add the contact lens solution while stirring until the slime forms.
- Charge and Play: Expose the slime to light, then watch it glow in the dark!
Adding Extras: Glitter, Beads, and More
Customizing your slime with extras like glitter, beads, or foam balls can make your slime even more fun to play with. Here’s how you can personalize your slime:
- Glitter: Adds sparkle and shine.
- Beads: Creates a crunchy texture.
- Foam Balls: Gives your slime a bubbly, lightweight feel.
- Scented Oils: Adds a pleasant aroma to your slime.
Experimenting with these extras allows you to create a unique slime every time.
Slime Storage and Maintenance
To keep your slime fresh and fun to play with, it’s important to store it properly:
- Air-tight Container: Store slime in an air-tight container to prevent it from drying out.
- Keep It Cool: Store the container in a cool place, away from direct sunlight.
- Reviving Slime: If slime becomes too stiff, add a few drops of water or contact lens solution to revive it.
Slime Safety Tips
While making slime is generally safe, it’s important to follow some basic safety guidelines:
- Supervise Young Children: Always supervise young children when making or playing with slime, especially when using activators like borax.
- Avoid Ingestion: Slime should not be ingested. If a child accidentally eats slime, seek medical advice.
- Wash Hands: Ensure hands are washed after playing with slime to avoid any skin irritation.
FAQs About Slime Making
What can I do if my slime is too sticky?
Add more contact lens solution or baking soda to reduce stickiness.
How can I make slime without glue?
You can make slime using alternative ingredients like cornstarch and water or shampoo and cornstarch.
Can I use household items as activators?
Yes, baking soda combined with saline solution or liquid starch are effective activators.
Is it safe to make slime with young children?
Yes, with supervision. Ensure safe ingredients are used and that the slime is not ingested.
How long does homemade slime last?
When stored properly, slime can last for several weeks.
Common Slime Problems and How to Fix Them
- Too Sticky: Add more activator to reduce stickiness.
- Too Stiff: Add a few drops of water or lotion to soften the slime.
- Not Forming: Ensure you’re using the right type of glue and activator.
Conclusion
Making slime is a fun and creative activity that can be enjoyed by people of all ages. With a few basic ingredients, you can create a variety of slimes, from fluffy to magnetic, each offering a unique sensory experience. By experimenting with different recipes and add-ins, you can customize your slime to suit your preferences. So, gather your ingredients and start mixing up some slime today!


