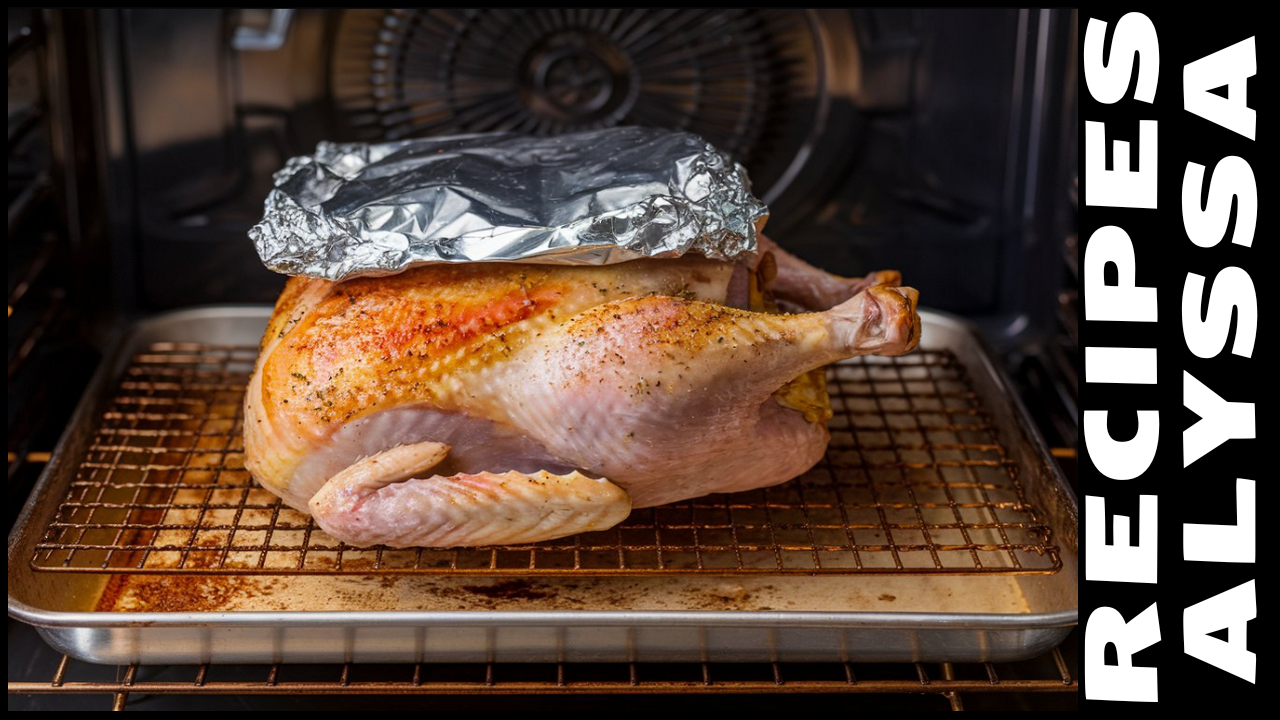
When roasting a chicken, the question of whether to cover it with tin foil is crucial. This choice can affect everything from the juiciness of the meat to the crispiness of the skin. In this article, we’ll explore when to use tin foil and when to leave the chicken uncovered for the best results.
Why Use Tin Foil When Roasting Chicken?
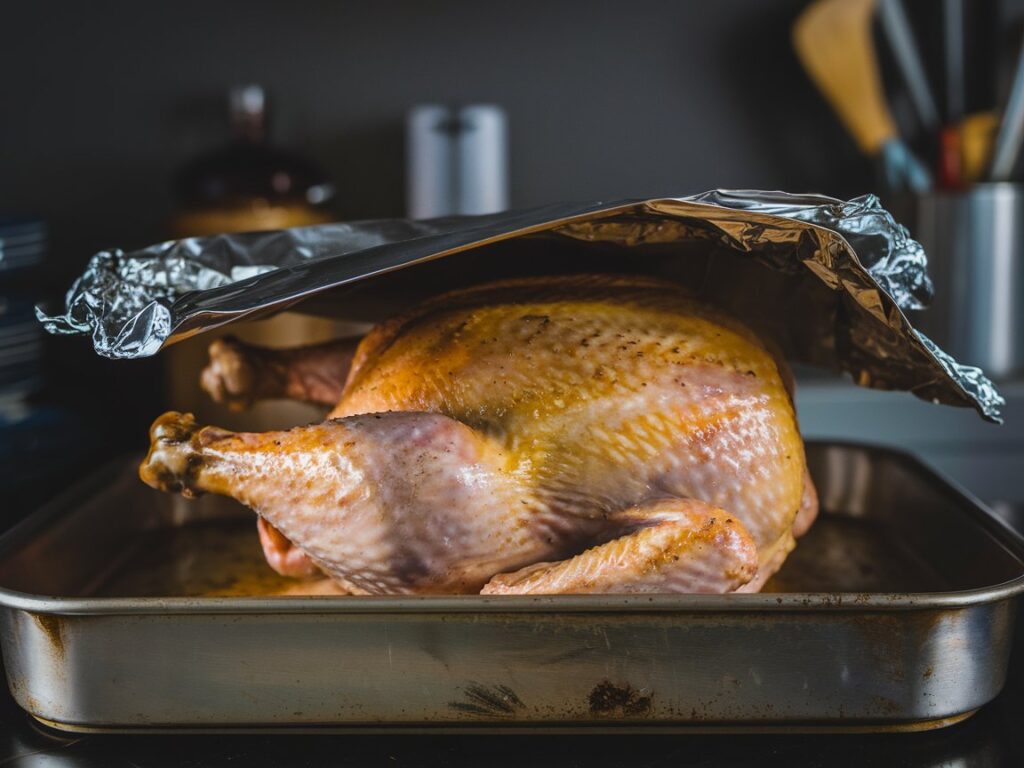
Using tin foil when roasting chicken has several benefits. Covering the bird helps trap moisture, which is particularly helpful for lean cuts like chicken breasts. The trapped steam creates a moist environment, resulting in tender, juicy meat. If you’re looking for more tips on achieving a perfectly moist and flavorful dish, check out this guide on Pumpkin Banana Loaf, which also emphasizes moisture retention in baking.
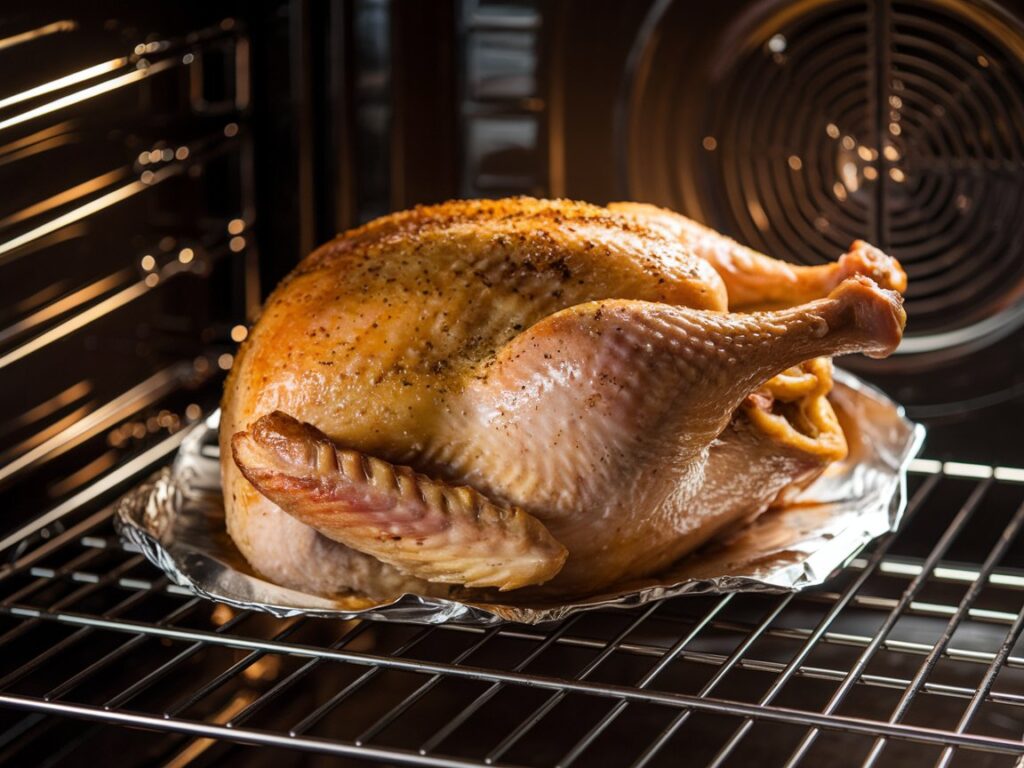
On the other hand, crispy skin lovers may prefer leaving the chicken uncovered. By allowing the skin to be exposed to direct heat, it crisps up beautifully. For another recipe that highlights the benefits of texture and crispness, try these Muddy Buddies, which offer a crunchy, flavorful treat.
Benefits of Using Tin Foil Over Roast Chicken
1. Retaining Moisture
Covering the chicken with tin foil helps keep the meat tender and juicy. This is especially useful for roasting chicken breasts or smaller chickens, which are prone to drying out.
2. Even Cooking
Tin foil helps distribute heat more evenly around the chicken. This ensures that the outer parts of the bird don’t cook too quickly, giving the center more time to fully cook.
3. Preventing Over-Browning
If you’re roasting your chicken at a high temperature, covering it with foil can prevent the skin from becoming too dark or burnt. This is especially helpful if you want to control the color of the skin while still ensuring the meat is fully cooked.
Drawbacks of Using Tin Foil Over Roast Chicken
1. No Crispy Skin
While covering the chicken with foil locks in moisture, it also prevents the skin from crisping up. If crispy, golden skin is important to you, you’ll need to remove the foil during the final 30-45 minutes of roasting.
2. Longer Cooking Time
Tin foil acts as a barrier to direct heat, which may slightly slow down the cooking process. Make sure to monitor the internal temperature with a meat thermometer to ensure the chicken reaches the proper 165°F (74°C).
3. Less Browning
Because the chicken is covered, it may not develop the rich, golden-brown color that many people desire. If presentation is important, remove the foil toward the end of the cooking process to allow for browning.
When to Use Tin Foil While Roasting Chicken
There are certain situations where covering your chicken with tin foil is beneficial:
- Dry or Lean Cuts: Foil is especially useful for leaner cuts like boneless chicken breasts, helping to retain moisture.
- Extended Cooking Times: If you’re roasting the chicken for more than an hour and a half, foil can help prevent the meat from drying out.
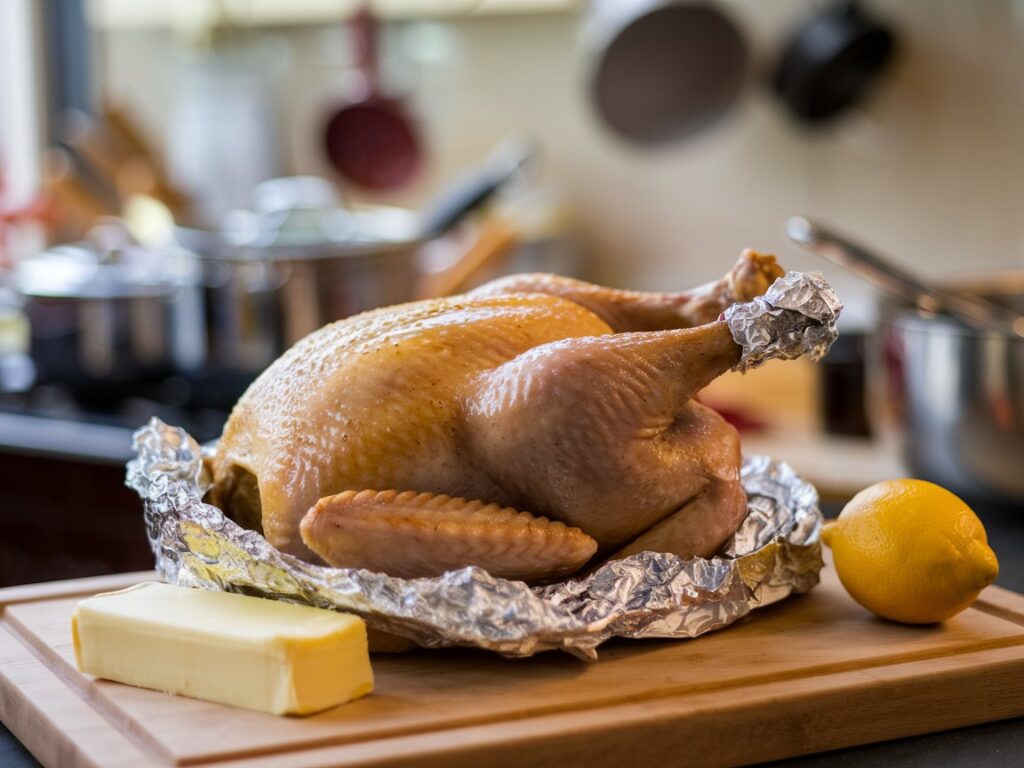
- Infusing Flavors: Covering the chicken with herbs, garlic, and lemon allows the flavors to infuse deeper into the meat, similar to how moisture and flavor are enhanced in recipes like this Pumpkin Banana Loaf.
When to Remove Tin Foil for Crispy Skin
For those who prefer crispy skin, removing the tin foil at the right time is key. Here’s how to manage the process:
- Remove the Foil in the Last 30-45 Minutes: This allows the skin to dry out and crisp up while ensuring the meat remains moist.
- Increase the Oven Temperature: Raise the temperature by 25°F during the last 15-20 minutes for extra crispy skin.
- Dry the Skin Before Roasting: Patting the skin dry before roasting will help ensure it browns properly once the foil is removed.
Alternatives to Tin Foil for Roasting Chicken
If you’re looking for ways to avoid using tin foil but still want moist, flavorful chicken, consider these alternatives:
- Parchment Paper: A more breathable option than foil, parchment paper retains moisture while allowing for better airflow, helping the chicken’s skin crisp up.
- Dutch Oven or Covered Roasting Pan: These options create the same effect as tin foil but allow for better browning, especially when the lid is removed toward the end of the cooking time.
- Basting: Regularly basting the chicken with melted butter or oil helps retain moisture without the need for foil, much like the technique used in the Ultimate Brownie Recipe.
Tips for Perfect Roast Chicken with or Without Tin Foil
- Use a Roasting Rack: Elevating the chicken ensures even airflow and prevents the bottom from becoming soggy.
- Season Generously: Apply seasonings under the skin and inside the cavity for maximum flavor.
- Let the Chicken Rest: After roasting, let the chicken rest for 10-15 minutes. This allows the juices to redistribute, ensuring moist, tender meat.
FAQs: Common Questions About Using Tin Foil for Roast Chicken
1. Should I cover the chicken with foil for the entire cooking time?
It depends on your desired result. Covering the chicken for the first half of cooking helps retain moisture, but uncovering it in the final 30 minutes is essential for crispy skin.
2. Can I use parchment paper instead of tin foil?
Yes, parchment paper retains moisture while allowing some airflow, which can help achieve crispier skin.
3. Does using tin foil change the cooking time?
Using tin foil can slightly slow down the cooking process. Make sure to monitor the internal temperature with a meat thermometer to ensure the chicken reaches 165°F.
4. How can I get crispy skin if I use tin foil?
Remove the foil during the last 30-45 minutes of cooking and increase the oven temperature for a golden, crispy finish.
Conclusion: Should You Put Tin Foil Over Roast Chicken?
Whether or not to use tin foil when roasting chicken depends on your desired outcome. If you want tender, juicy meat with softer skin, covering the chicken for part of the cooking time is a great option. However, if crispy skin is what you’re after, removing the foil toward the end of the cooking process is essential. By experimenting with both methods, you can tailor your roast chicken to your taste and preference.
For more tips on roasting chicken, check out this guide on making Earl Grey Cookies or explore other great recipes on Recipes Alyssa.


